When you’re depositing your kitchen scraps – including old spuds, vegetable seeds and pips – in the bin, or on the compost heap, think again.
There are many things you can grow again from food waste, insist gardening duo and allotmenteers Paul Anderton and Robin Daly, known on Instagram as Two Dirty Boys.
“Regrowing scraps and cuttings can reward you with fresh homegrown food, which can help reduce your grocery bill,” say the pair in their new book Regrown.
“When we first started the process of regrowing, we did so in such small quantities that the cuttings generated just about enough food for Barbie’s brunch. However, if you get into the habit of continually saving potential plants before they get to your compost bin, you’ll find you are rewarded with a decent-sized harvest when the time comes.”
Read more: How to get the best harvest from five of our favourite vegies
Armed with a windowsill and reusable containers, you can make a start on these five easy to regrow edibles . . .
1. Spring onions
They say: “This is a really easy and foolproof project. It’s great to do with kids as the progress is fast. You’ll never throw away the base of your spring onions again.”
Top tips: retain one inch of the root end of the vegetable for regrowing. Fill a jar with pebbles or marbles and position each cutting with the root end downwards amongst the stabilisers.
Fill the jar with water to cover the roots, but leave the top of the cuttings above the water. Place on a bright windowsill and refresh the water each day. Harvest when desired.
2. Avocado
Avocado pits get tossed into the dustbin every day – each one a perfect new seed of a future avocado tree. They make beautiful houseplants.
Top tips: rinse an avocado stone and gently peel away the outer skin revealing a nut-like surface. Identify the pointy end of the pit and ensure this now remains facing upwards during the next steps.
Pierce the pits with three toothpicks, evenly spaced. These will allow you to position the stone in water without full submersion.
Fill a glass or jar with water and position the pit and toothpicks so the pit is hovering at the water line (with the bottom of the pit under water). It can take several weeks for the pit to germinate and start growing so be patient.
Read more: Transform your food scraps into treasure
Once roots have descended and the pit has started to grow a stem and leaves, you could choose to transplant the plant to a plant pot filled with potting mix. Keep your new avocado houseplant in a bright location and water when necessary.
3. Potatoes

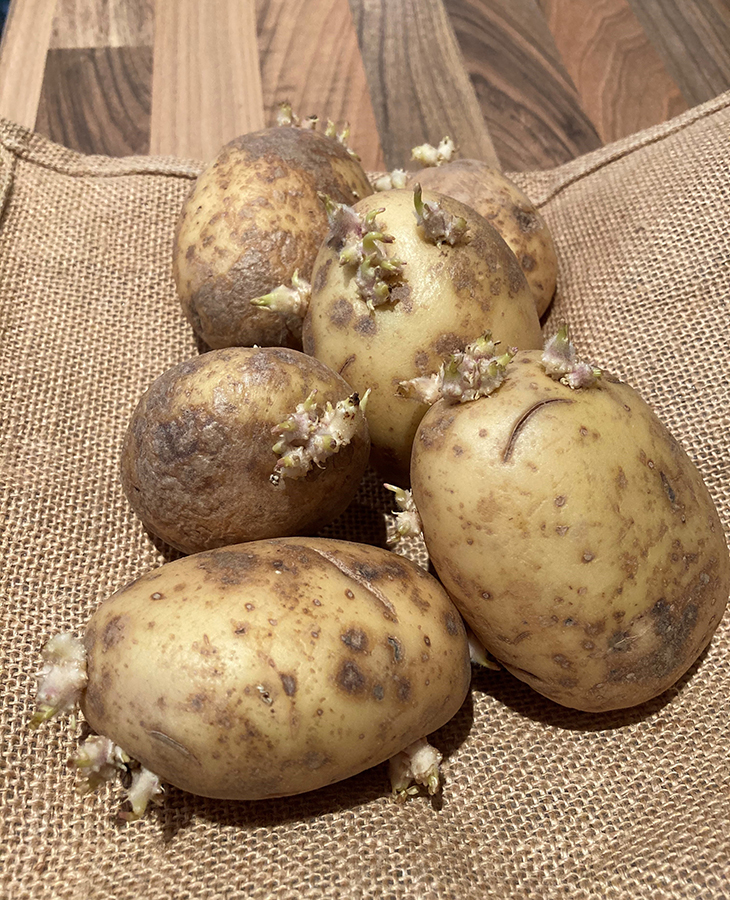
We’ve all been guilty of neglecting a bag of potatoes in a dark kitchen drawer or cupboard. It’s easy to regrow these into a whole new batch of tasty spuds.
Top tips: an out-of-date potato can be used to grow a new crop of potatoes. Use a sharp knife to cut the potato into sections, but make sure each section has its own ‘eye’ as this will be the foundation of a new plant.
Let the potato pieces dry in the open air to avoid bacterial infections. After some time, each eye should begin to sprout. The process is called chitting. You can now plant each potato piece in the earth with the eye facing upwards (four inches deep) or in a plant pot or growbag (with a 50/50 mix of compost and garden soil).
Water regularly if in pots and once the plant above ground has flowered and begun to wilt (between 70 and 120 days later), your underground potatoes are ready to be harvested
4. Tomato seeds
It’s the time of year most gardeners start thinking about their tomato seedlings. Why not grow this year’s plants from a kitchen scrap? Heirloom tomatoes are the best choice.
Top tips: scoop out the inner part of an overripe tomato and seeds and mix these with some water in a jar. Seal it and let it start to ferment for one week. This process will separate the seeds from the flesh and help fight diseases.
Strain the seeds, rinse them and lay them out on paper towels to dry for at least another week. After this time the seeds should be ready for planting. Use the tomato seeds as you would any store-bought tomato seeds. Then start the process off using potting mix in seed trays.
Read more: How to boost your vegie patch through crop rotation
5. Beetroot greens
It takes a lot of beetroot cuttings to grow yourself a bag of beetroot greens – but the process is fun and there’s nothing more satisfying than serving up a salad you grew on your windowsill.
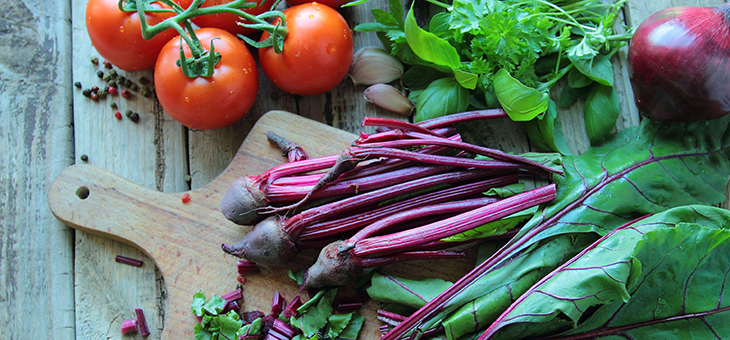
Top tips: the top inch or so of a beetroot root can be used to regrow fresh beetroot greens which are wonderful in a salad or used in dishes as a spinach substitute.
Start by removing the existing wilted leaves (or use them to cook with if they’re fresh enough). Place multiple beetroot tops in a flat-bottomed waterproof tray and fill the tray with enough water that each root slice has access to water but isn’t submerged.
Within the first day or two new leaves should start to emerge. Changing the water each day will ensure the plants don’t rot. You’ll be rewarded with a mini field of fresh beetroot plants.
Harvest the leaves as and when you wish. Harvesting leaves when they are still very small makes a novel topping for canapes.
Regrown: How To Grow Fruit, Herbs And Vegetables From Kitchen Scraps by Paul Anderton and Rob Daly is published by Hardie Grant, available now.
Have you tried to regrow kitchen scraps? Do you have a windowsill garden?
– With PA
If you enjoy our content, don’t keep it to yourself. Share our free eNews with your friends and encourage them to sign up.

