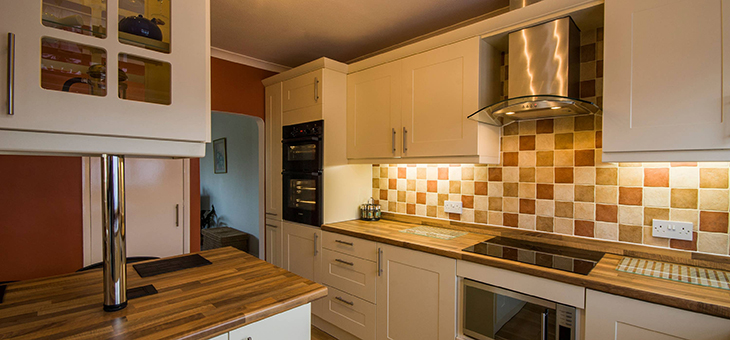
When you buy a kitchen with beautifully chunky wooden worktops, the upkeep is unlikely to be a big priority. You’re redesigning your home and they look great, but they do also take a bit of looking after.
Over time, wooden worktops can fade and become marked, so it’s important to treat them every so often.
Read: Seven kitchen organisation tips
How can I tell if my kitchen worktop needs re-oiling?
Most experts will tell you to re-oil worktops every three to four months, but to know for sure, Toolstation recommends dripping water onto the worktop surface. If the water forms a bead, it doesn’t need re-oiling, but if it sits flat on the surface, your worktop needs some TLC.
How to re-oil a wood worktop in three steps
Step one: sanding
Use sandpaper (start with a courser grade sandpaper, then go over it with a finer grade, e.g. 120 grit followed by 180, or 180 followed by 240 – available from all hardware stores) to smooth over all of your wooden worktops. If the worktops are in bad condition, you may need to use an electric sander or card scraper, but these will require a bit more knowledge and skill, so you might prefer to call in the professionals.
Sanding is a bit tedious and it will take a while, but on the plus side, it will lift off any stains or marks that are starting to set in. Focus on any discolouration around the sink area, as this can be harder to get rid of.
Make sure you clean off all the dust thoroughly once you’ve finished.
Read: Kitchen cleaning mistakes
Step two: oiling
Once you’ve done your prep, all you need to do is apply your oil. There are lots on the market, but read the ingredients and instructions to make sure you choose one for the type of timber in your kitchen.
To start, pour a little oil onto the worktop and, using a lint-free cloth, spread it over the surface until you have a very thin and even layer. You need to repeat this until you’ve covered the worktop, then apply another coat.
After applying, be careful not to leave any of the oil on the surface, as it could show up white and stand proud.
After the first coat, leave the oil to dry for a few hours (potentially longer, depending on your brand of oil – always read the instructions) and then re-apply up to eight coats. Adding several thin coats is more effective than one thick layer, which can dry sticky or shiny.
Read: How to make the most out of a small kitchen
Step three: the retest
Once dried, try dripping water on the surface again, and if the water doesn’t form a bead, repeat the oiling process.
Now you’ve got gorgeously pristine worktops again, always use a heat protector or chopping board to keep it looking good.
Do you have wooden worktops in the kitchen? How often do you re-oil them? Please share your tips in the comments section below.
– With PA
If you enjoy our content, don’t keep it to yourself. Share our free eNews with your friends and encourage them to sign up.

